The Ultimate Guide to Using the Polaroid Now+ with the Bluetooth App
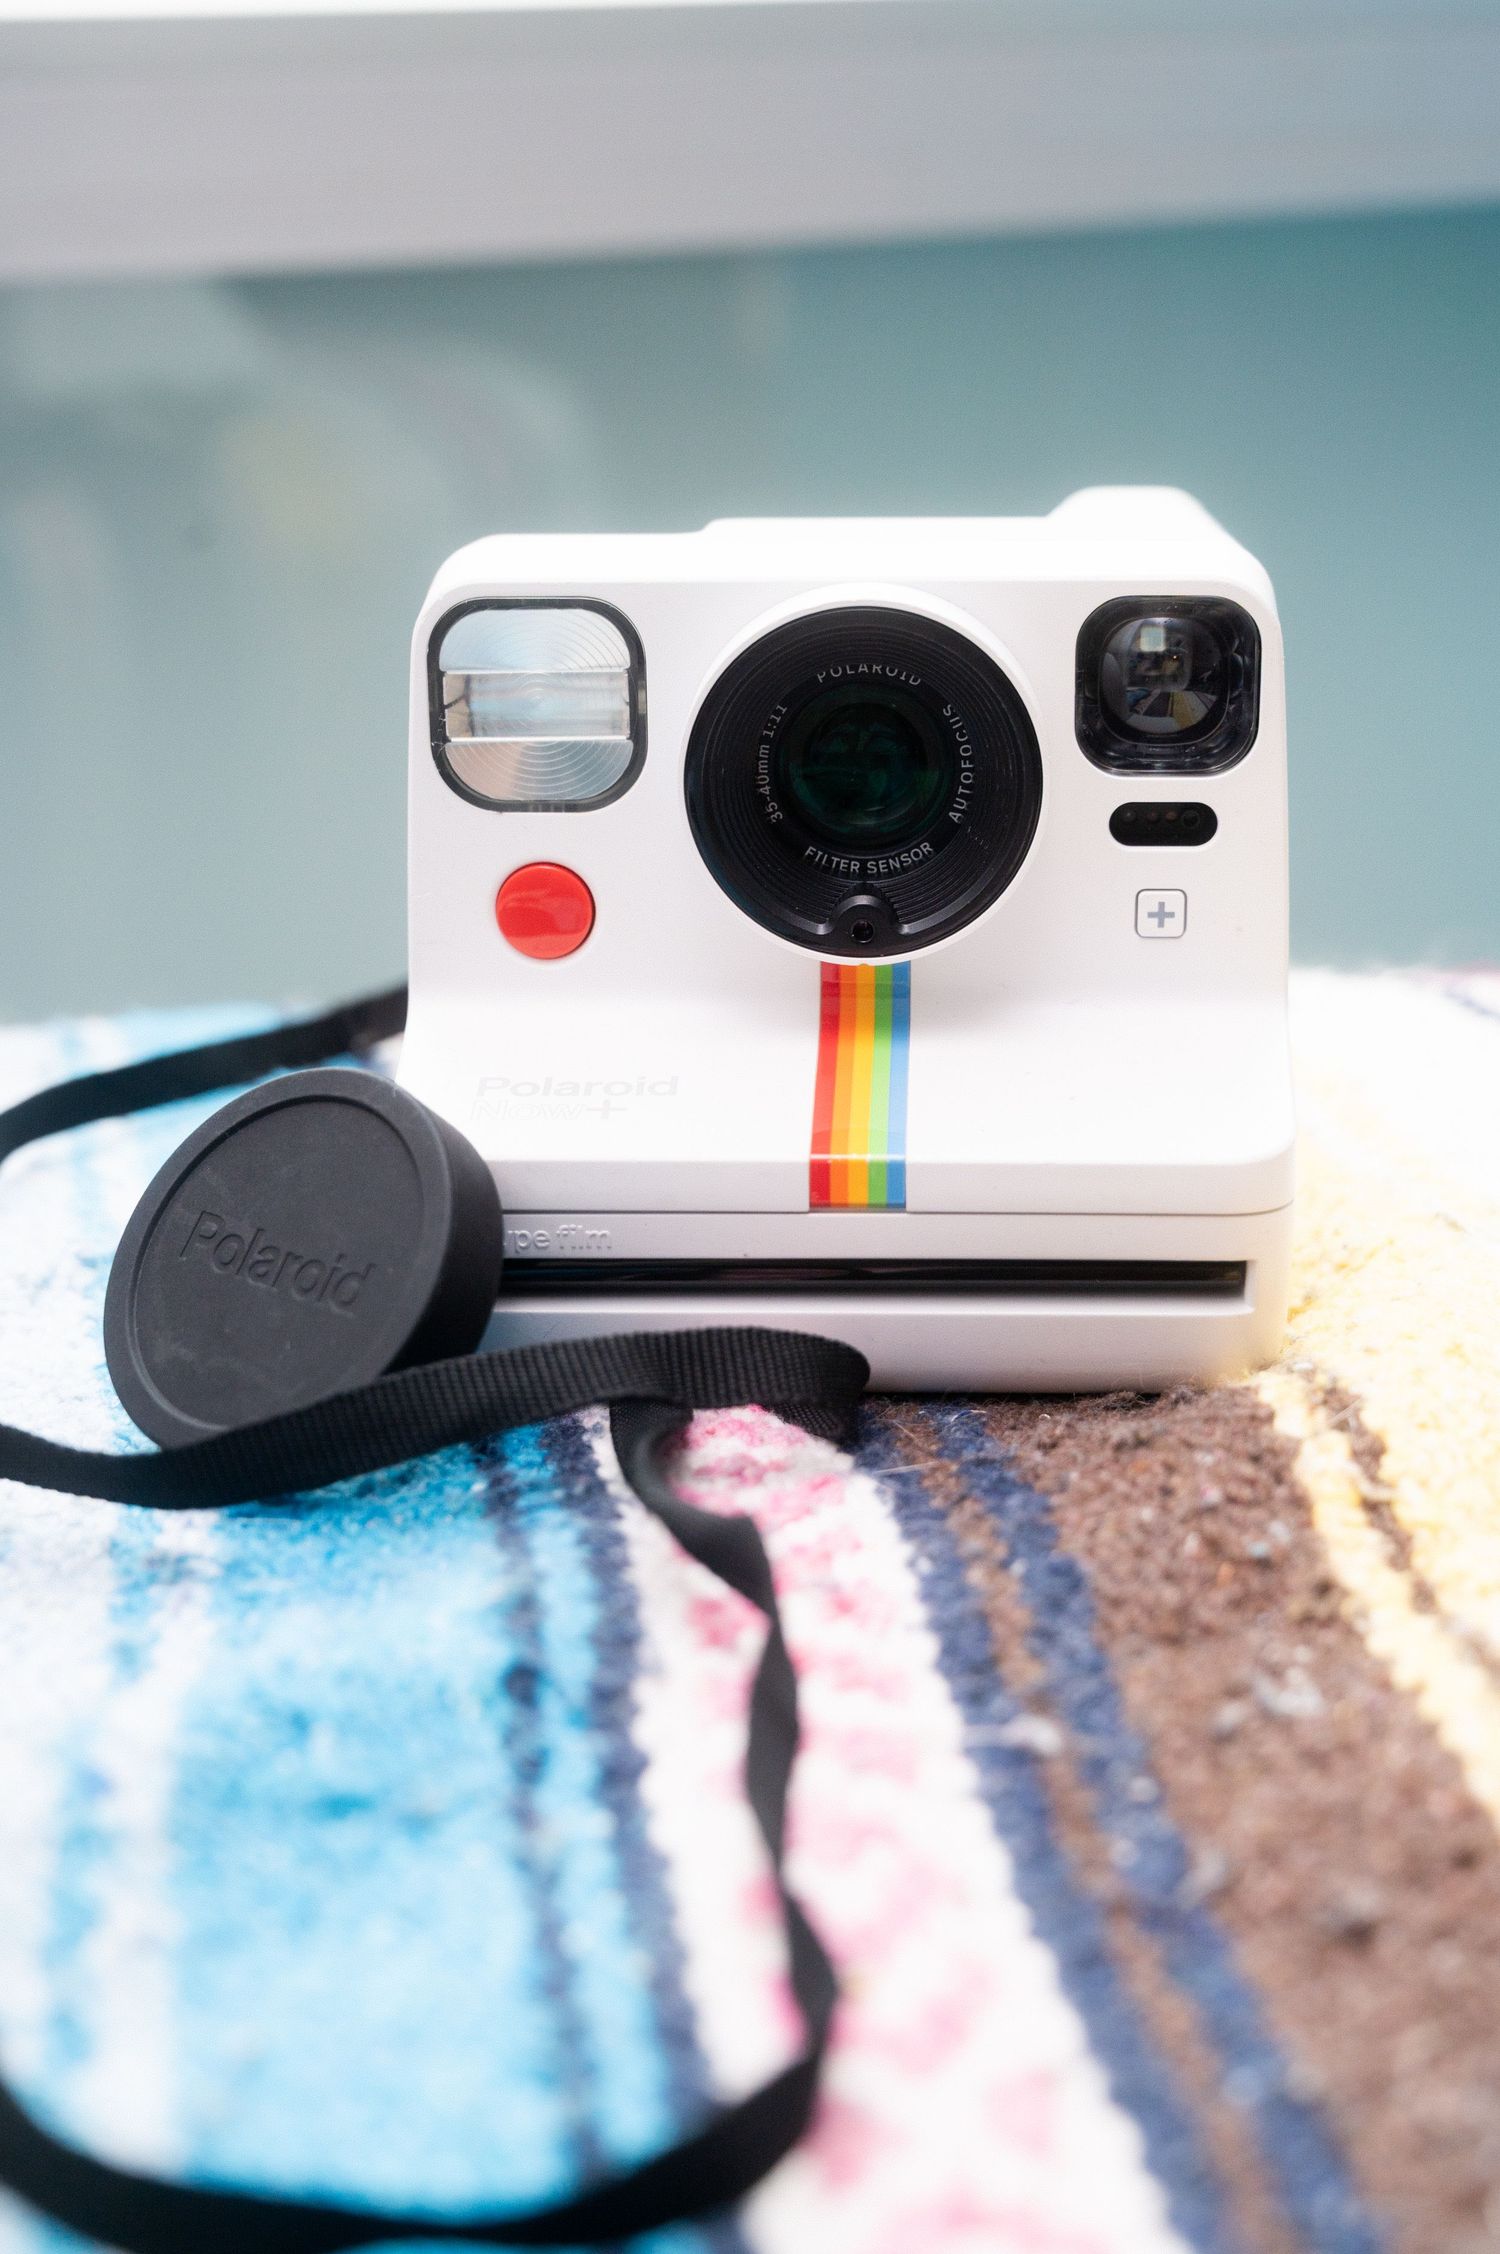
The Polaroid Now+ looks like a classic instant camera — but paired with the Polaroid app, it becomes something much closer to a creative photography tool with manual controls, experimental modes, and remote shooting.
Unlike digital cameras, you don’t get previews or edits after the fact — every shot costs film (the Polaroid Now + takes Polaroid iType and Polaroid 600 films — so understanding each mode is essential.
Getting Started: Pairing & Setup
Before exploring modes, you need to connect:
First, Pair your camera
- Turn on the camera
- Enable Bluetooth (press the + button)
- Open the Polaroid app
- Select your camera to connect
Once connected, the app unlocks advanced modes not available on the camera alone
Overview: All App Modes
The Now+ app includes these major modes:
- Remote
- Self-Timer (expanded controls)
- Double Exposure
- Aperture Priority
- Manual Mode
- Tripod Mode
- Light Painting
- Portrait Mode
- Shortcut (custom saved mode)
These modes allow control over aperture, shutter speed, flash, exposure value, and more
1. Remote Mode (Shoot from Anywhere)
What it does: Turns your phone into a wireless shutter.
How to use:
- Frame your shot
- Open Remote mode
- Adjust:
- Exposure value (EV)
- Flash on/off
- Tap the shutter button in the app
- Best for
- Group photos
- Self-portraits
- Tripod shooting -💡 You don’t need to touch the camera at all, perfect for avoiding blur
2. Self-Timer Mode
While the camera has a built-in timer, the app gives:
- Multiple delay options (3, 6, 12 seconds)
- Exposure and flash control
Best for:
- Group shots with timing flexibility
- Low-light shots (combined with tripod)
3. Double Exposure Mode (Layered Images in Camera)
What it does: Combines multiple shots into one print.
How to use:
- Take first photo
- Compose second image
- Shoot again before ejecting film
- Creative ideas
- Silhouettes + textures
- Portrait + landscape overlay
- Motion storytelling
📸 The camera can stack multiple exposures, but balance is key to avoid overexposure of the film
4. Aperture Priority Mode (Control Depth of Field)
What it does:
- You choose aperture; the camera chooses shutter speed.
- Lower f-stop (f/11): blurred background
- Higher f-stop (f/64): more in focus
How to use:
- Select aperture in app
- Monitor suggested shutter speed
- Adjust EV if needed
- Best for
- Portraits (wide aperture)
- Landscapes (narrow aperture)
📷 Aperture directly affects how much of your image is sharp
5. Manual Mode (Full Creative Control)
This is where the Now+ becomes a true creative tool.
You can control:
- Aperture (f/11–f/64)
- Shutter speed (1/200s → 30s)
- Bulb mode (infinite exposure)
- Flash intensity
- Lens selection (portrait vs standard)
- Film ejection (auto/manual)
Special features:
- Manual eject = multiple exposures (more than the 2 allowed in the double exposure mode setting)
- Bulb mode = long exposure photography
Best for:
- Night photography
- Light trails
- Experimental shots
- 3 or more layered exposures
💡 Keep the light meter near “0” for balanced exposure
6. Tripod Mode (Sharper Long Exposures)
What it does: Optimizes settings for stability and long exposure.
Use it with:
- A tripod (essential)
- Remote trigger (to avoid shake)
- Best for
- Night scenes
- Indoor low-light shots
- Light painting
7. Light Painting Mode (Draw with Light)
What it does: Uses long exposure to capture moving light sources.
How to use:
- Shoot in a dark environment
- Move a light (phone flashlight, LED, sparkler)
- Keep camera steady
Results:
- Light trails
- Abstract art
- Creative portraits
8. Portrait Mode (Optimized Close-Ups)
What it does: Adjusts settings for subjects ~0.4–1.2m away.
Best for:
- Faces
- Close subjects
- Shallow depth-of-field style shots
9. Shortcut Mode (Save Your Favorite Setup)
What it does: Lets you store a custom mode onto the camera.
How to set it up:
- Configure a mode in the app
- Tap the “+” icon
- Save to camera
- How to use later
- Long-press the camera’s + button
Now you can shoot with your custom setup without reconnecting your phone
Key Settings You’ll Use Across All Modes:
- Exposure Value (EV)
- Adjust brightness (+ = brighter, – = darker)
- Flash Control
- On/off or adjustable (manual mode)
Practical Shooting Tips:
1. Film is unforgiving
You can’t preview — every shot matters.
2. Use a tripod or stable surface as needed
Especially for:
- Manual mode
- Light painting
- Night shots
3. Watch your distance
The camera has two focus zones — wrong one = blurry photo.
4. Don’t overexpose double exposures
Too many layers = washed-out white image.
5. Embrace experimentation
The Now+ is designed for creative imperfection.
When to Use Each Mode
Choosing the right mode on the Polaroid Now+ depends entirely on what you’re trying to capture — and how much control you want over the final image.
If you’re taking a group photo or want to be in the frame yourself, Remote mode or the app-based self-timer is your best option. These let you trigger the shutter from your phone, giving you time to step into position without rushing or risking camera shake.
For portraits, especially when your subject is relatively close, Aperture Priority or Portrait mode will give you the most pleasing results. These modes help create that soft background separation while keeping your subject sharp and well-exposed.
When shooting at night or in low-light environments, Manual mode or Tripod mode becomes essential. These allow for longer exposures, which let in more light and preserve detail — but they work best when the camera is completely still.
If you’re feeling creative, Light Painting mode opens the door to more experimental photography. It’s perfect for drawing with light, capturing motion trails, or adding dynamic elements to an otherwise dark scene.
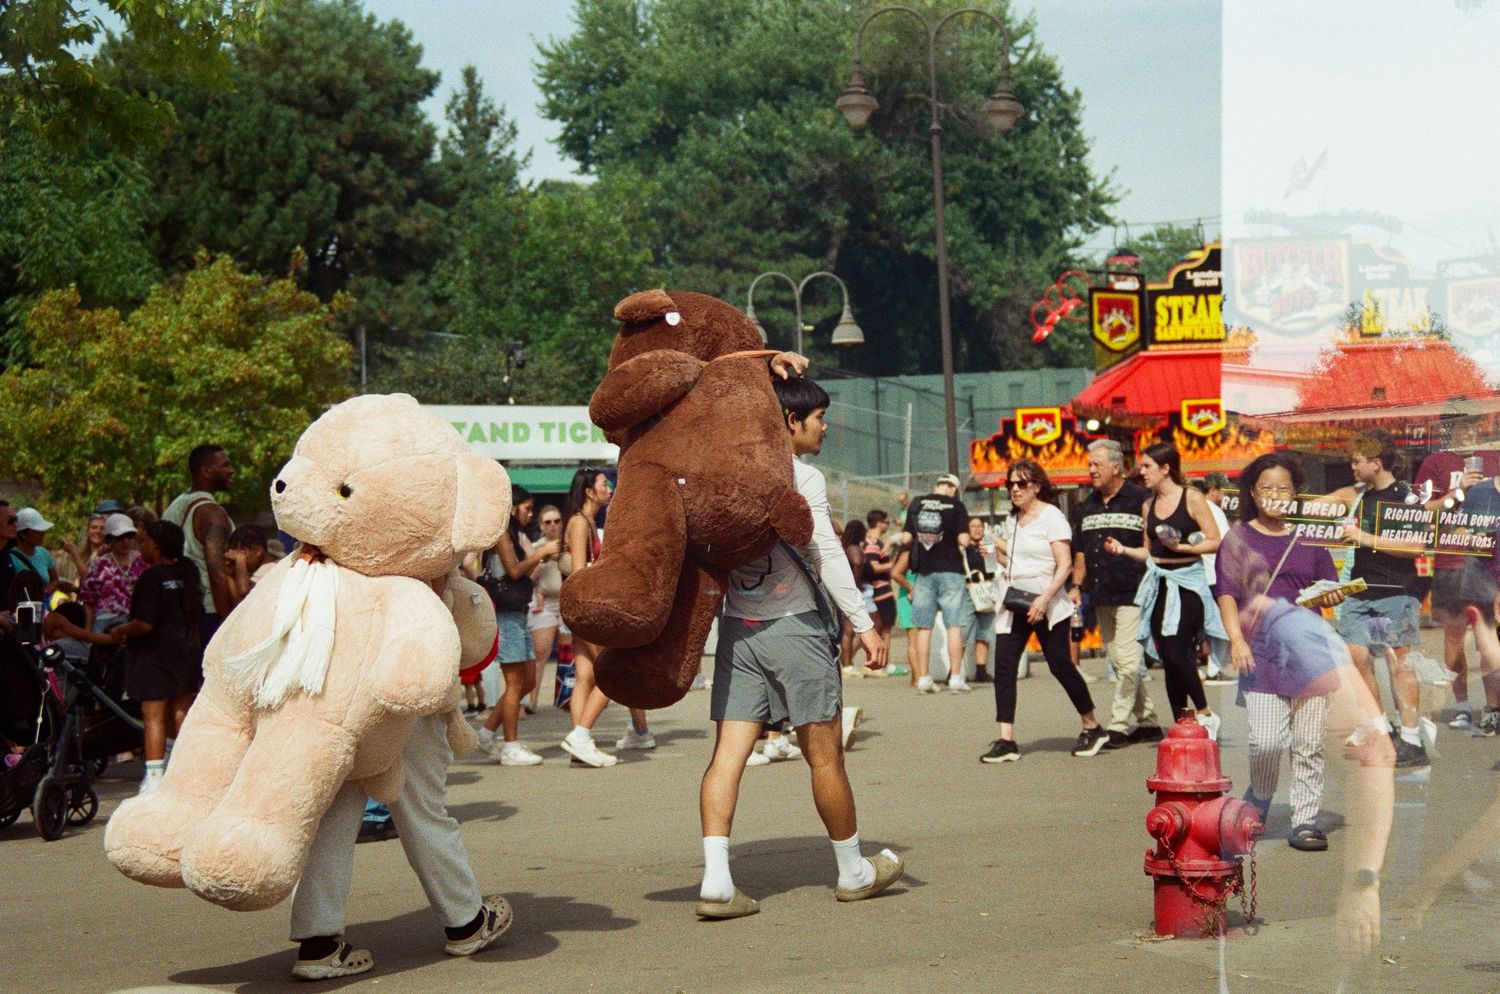
Double Exposure mode is ideal when you want to layer images together into something more artistic or surreal. Whether you’re combining silhouettes with textures or blending multiple moments into one frame, this mode rewards experimentation.
And for everyday shooting, once you’ve found settings you love, Shortcut mode is incredibly useful. It lets you save a custom setup directly to the camera, so you can shoot consistently without needing to reconnect to the app each time.